
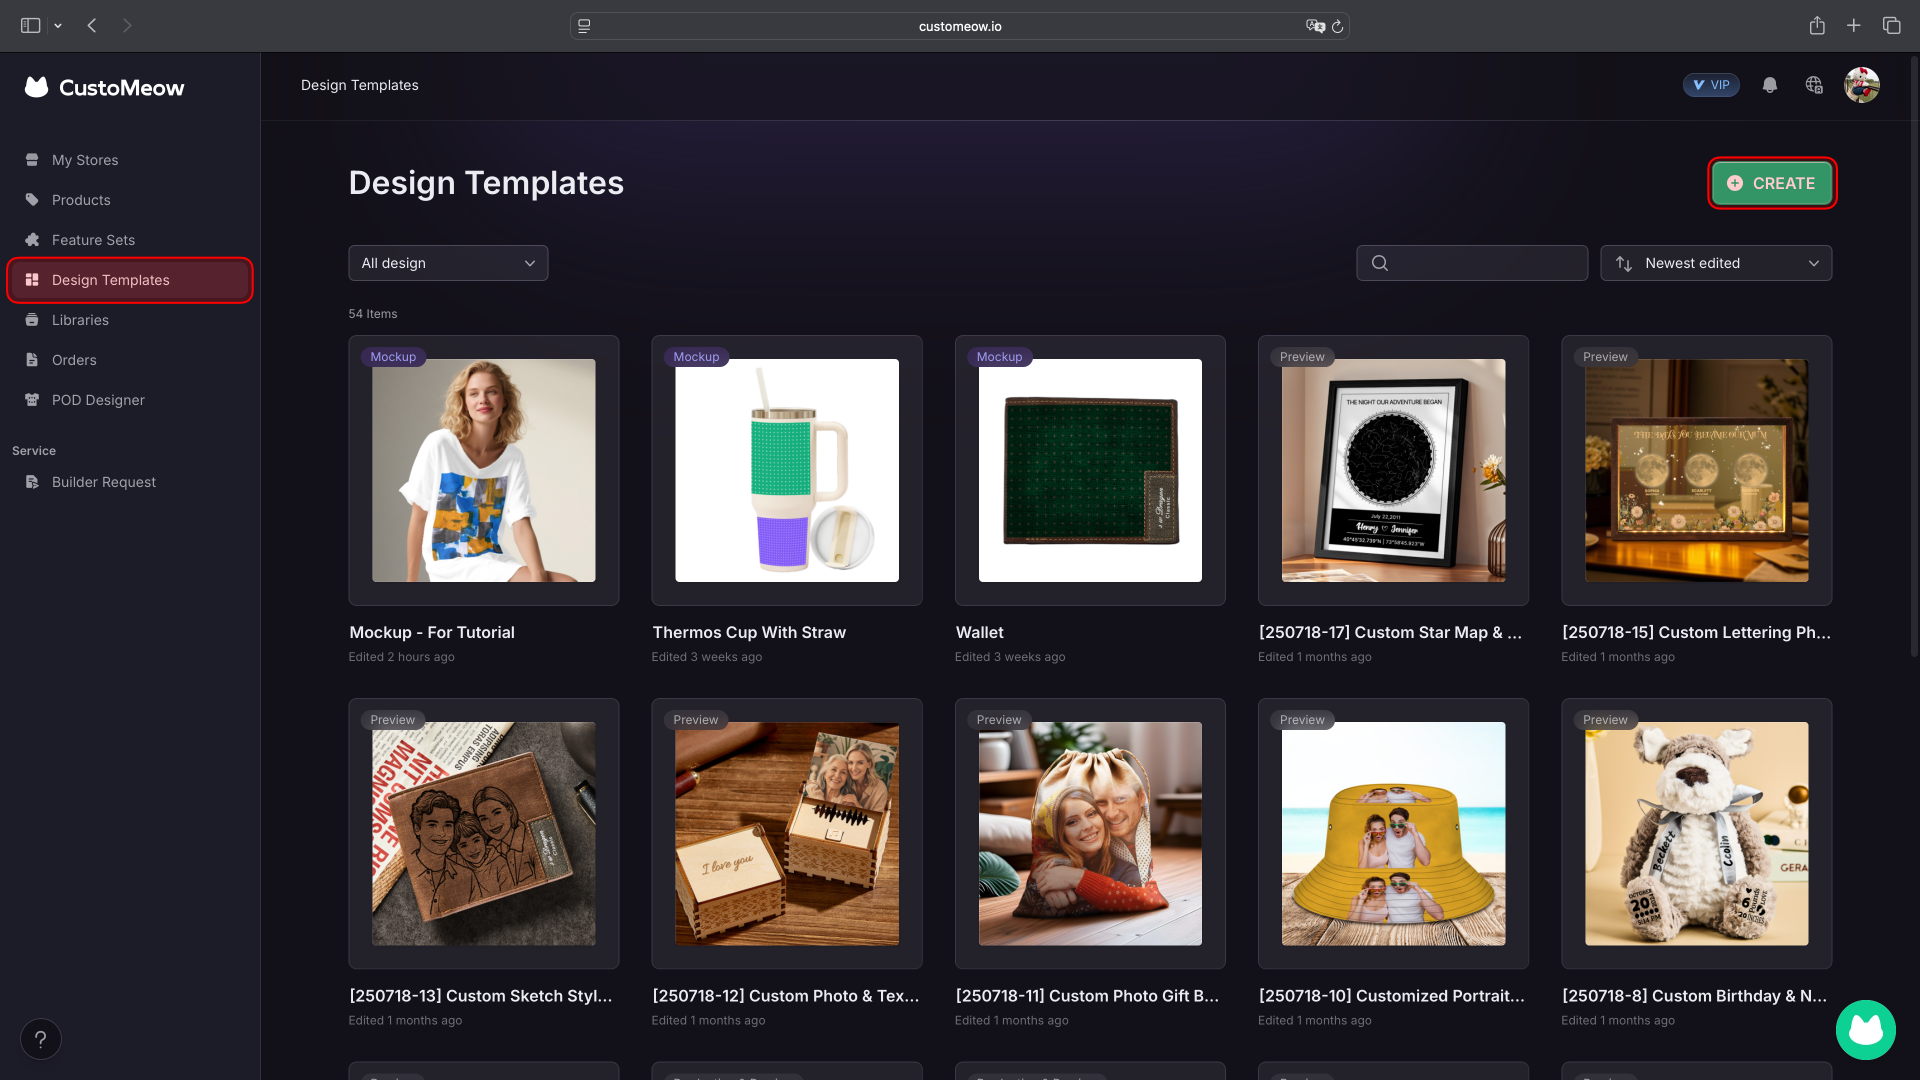
Effortlessly Create a Stunning Mockup

Mockup Design is an independent module under design templates. It can be used in conjunction with custom feature sets to achieve better preview effects. Meanwhile, it is also compatible with various major functions such as the POD designer and POD product distribution.
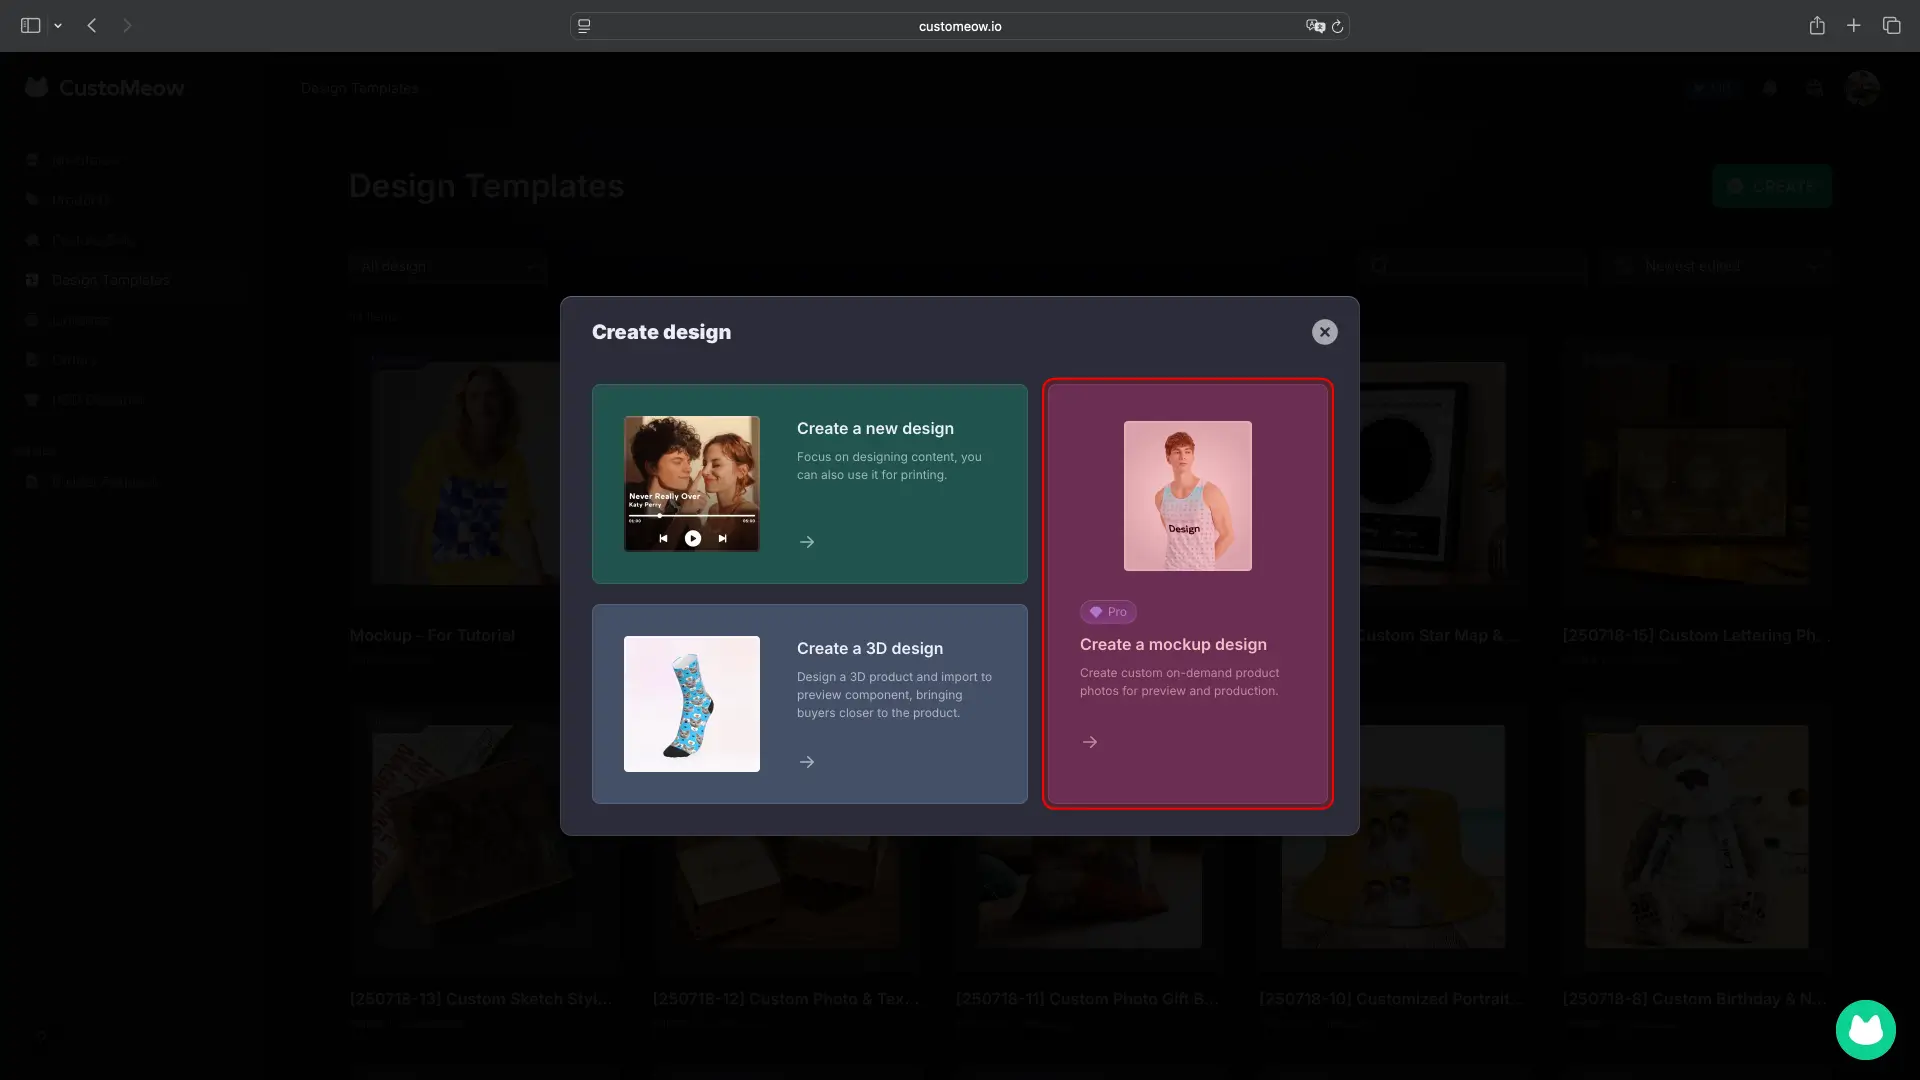
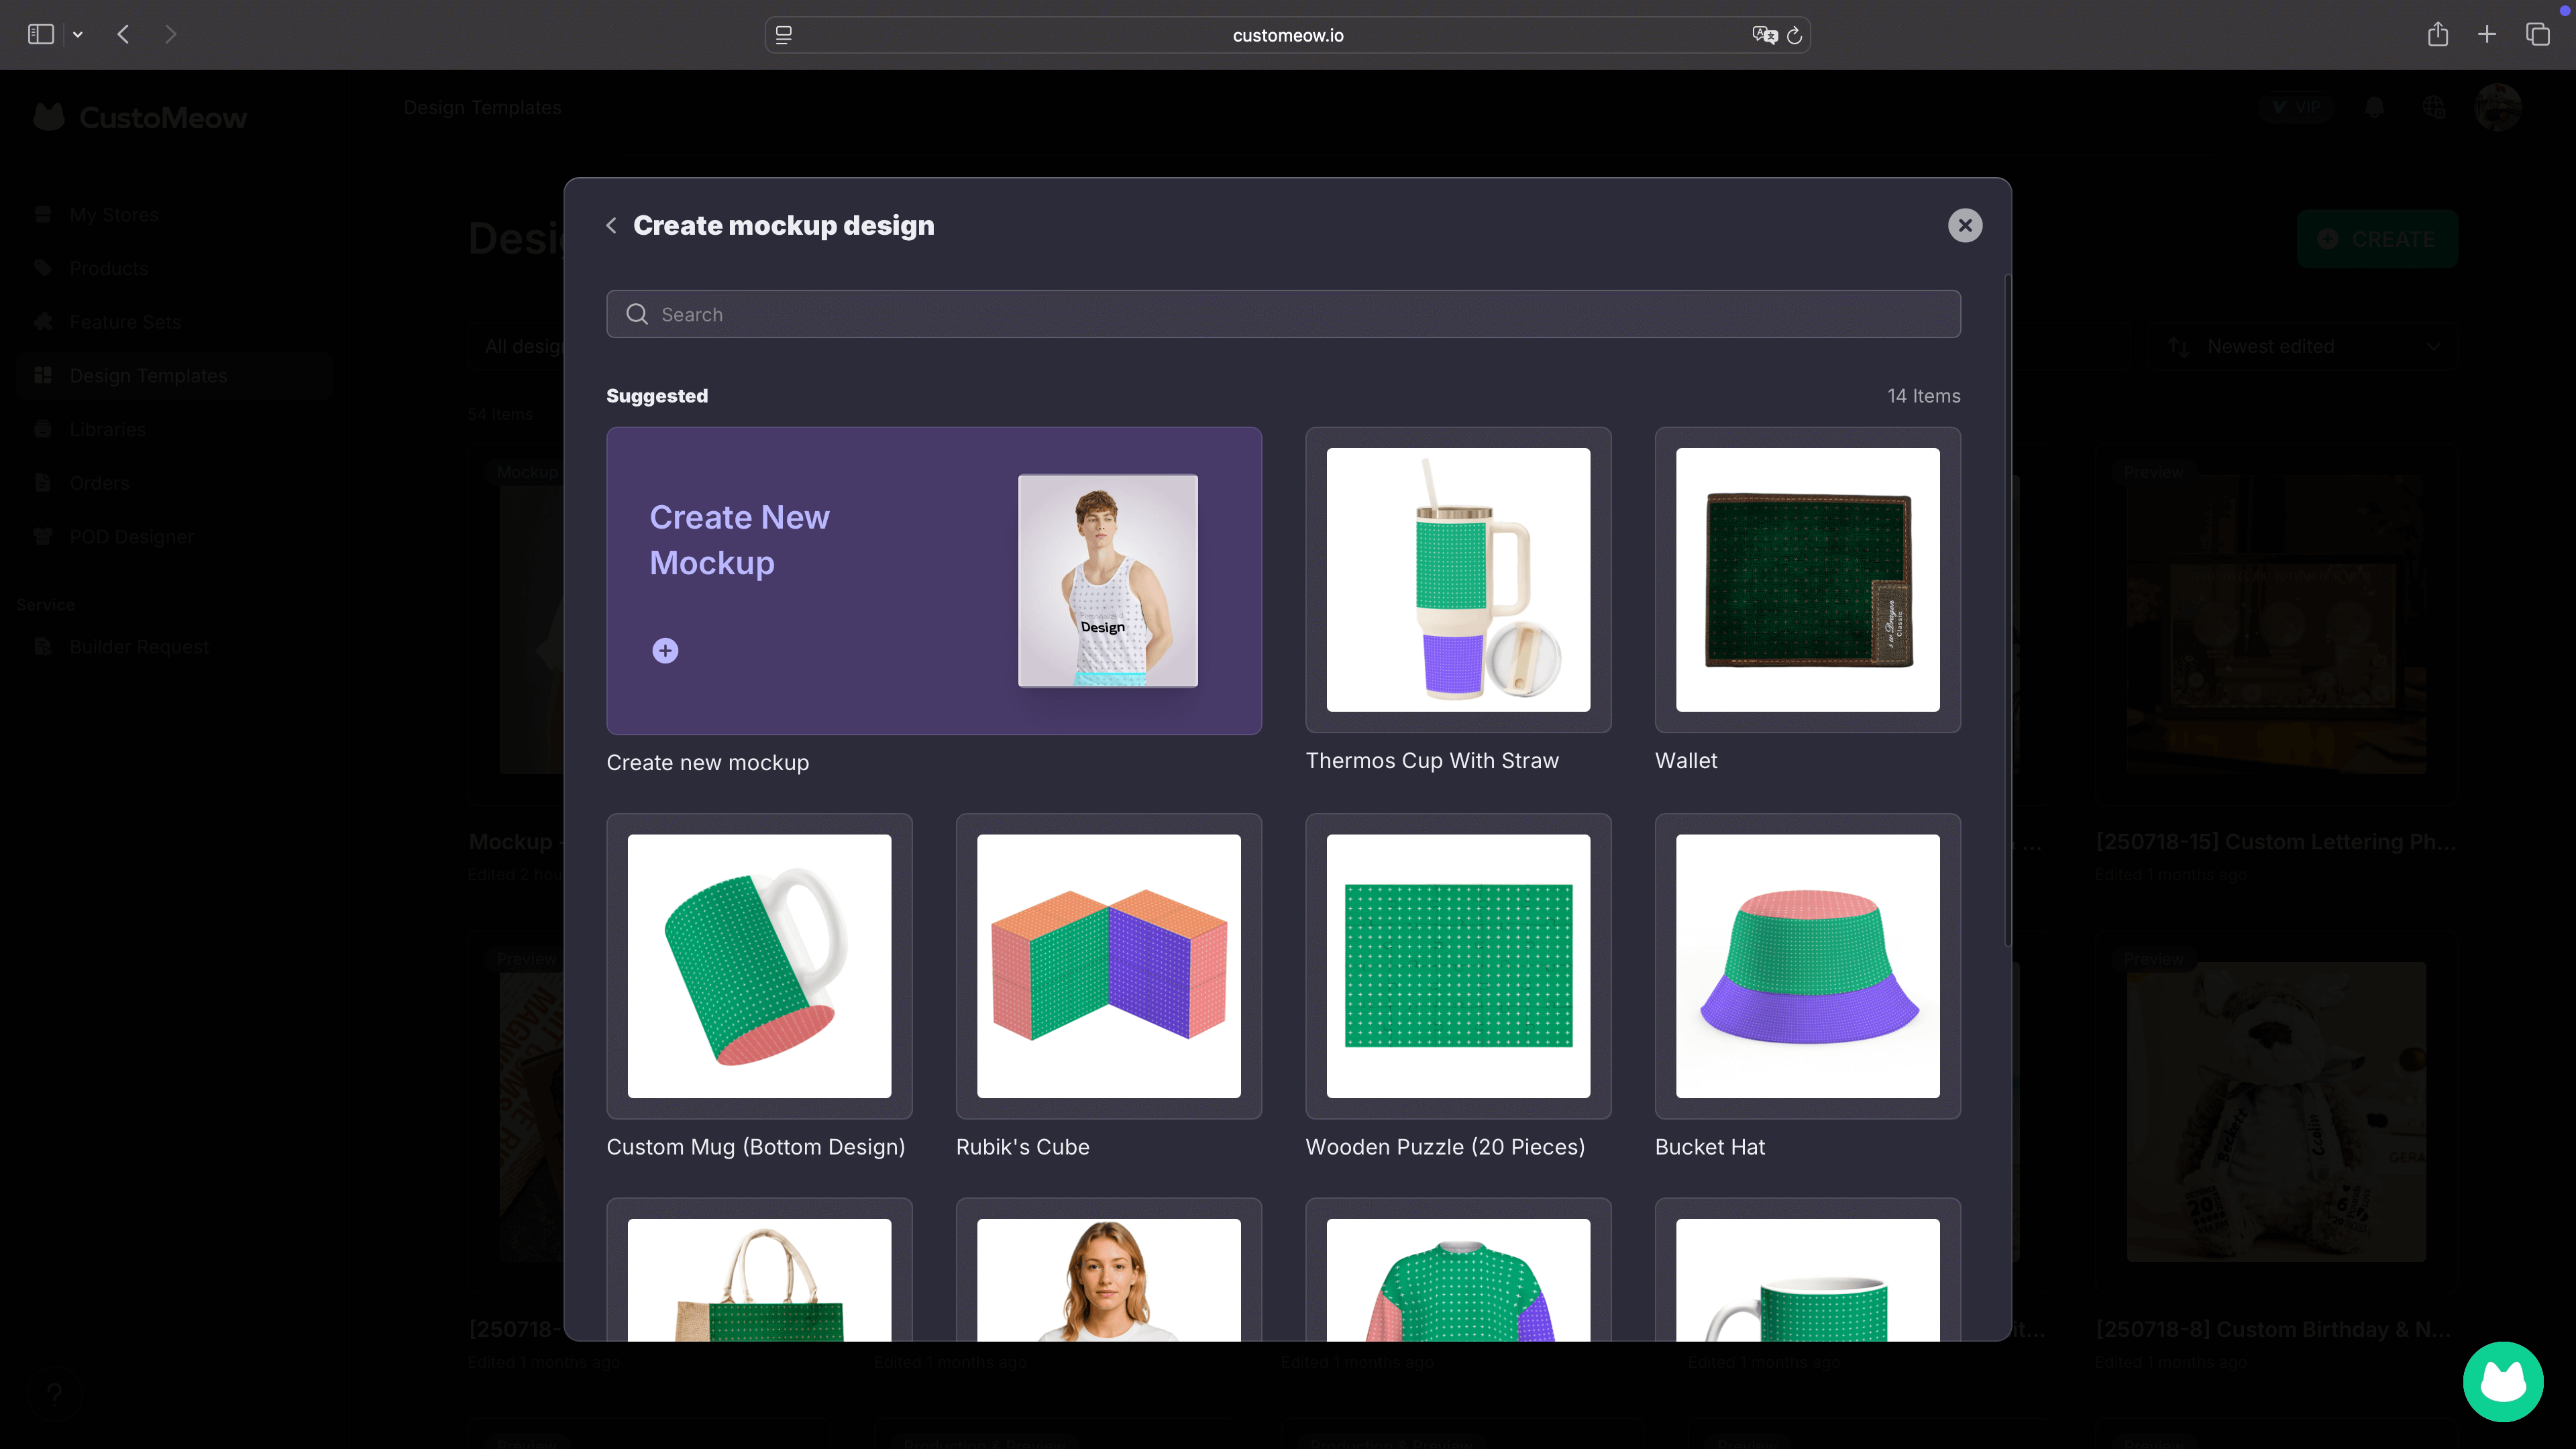
This article aims to guide the creation of Mockups through a simple step-by-step tutorial with the use of a set of clothing-related Mockup examples.
- The uploaded clothing material needs to have a certain degree of transparency and retain the details of highlights and shadows.
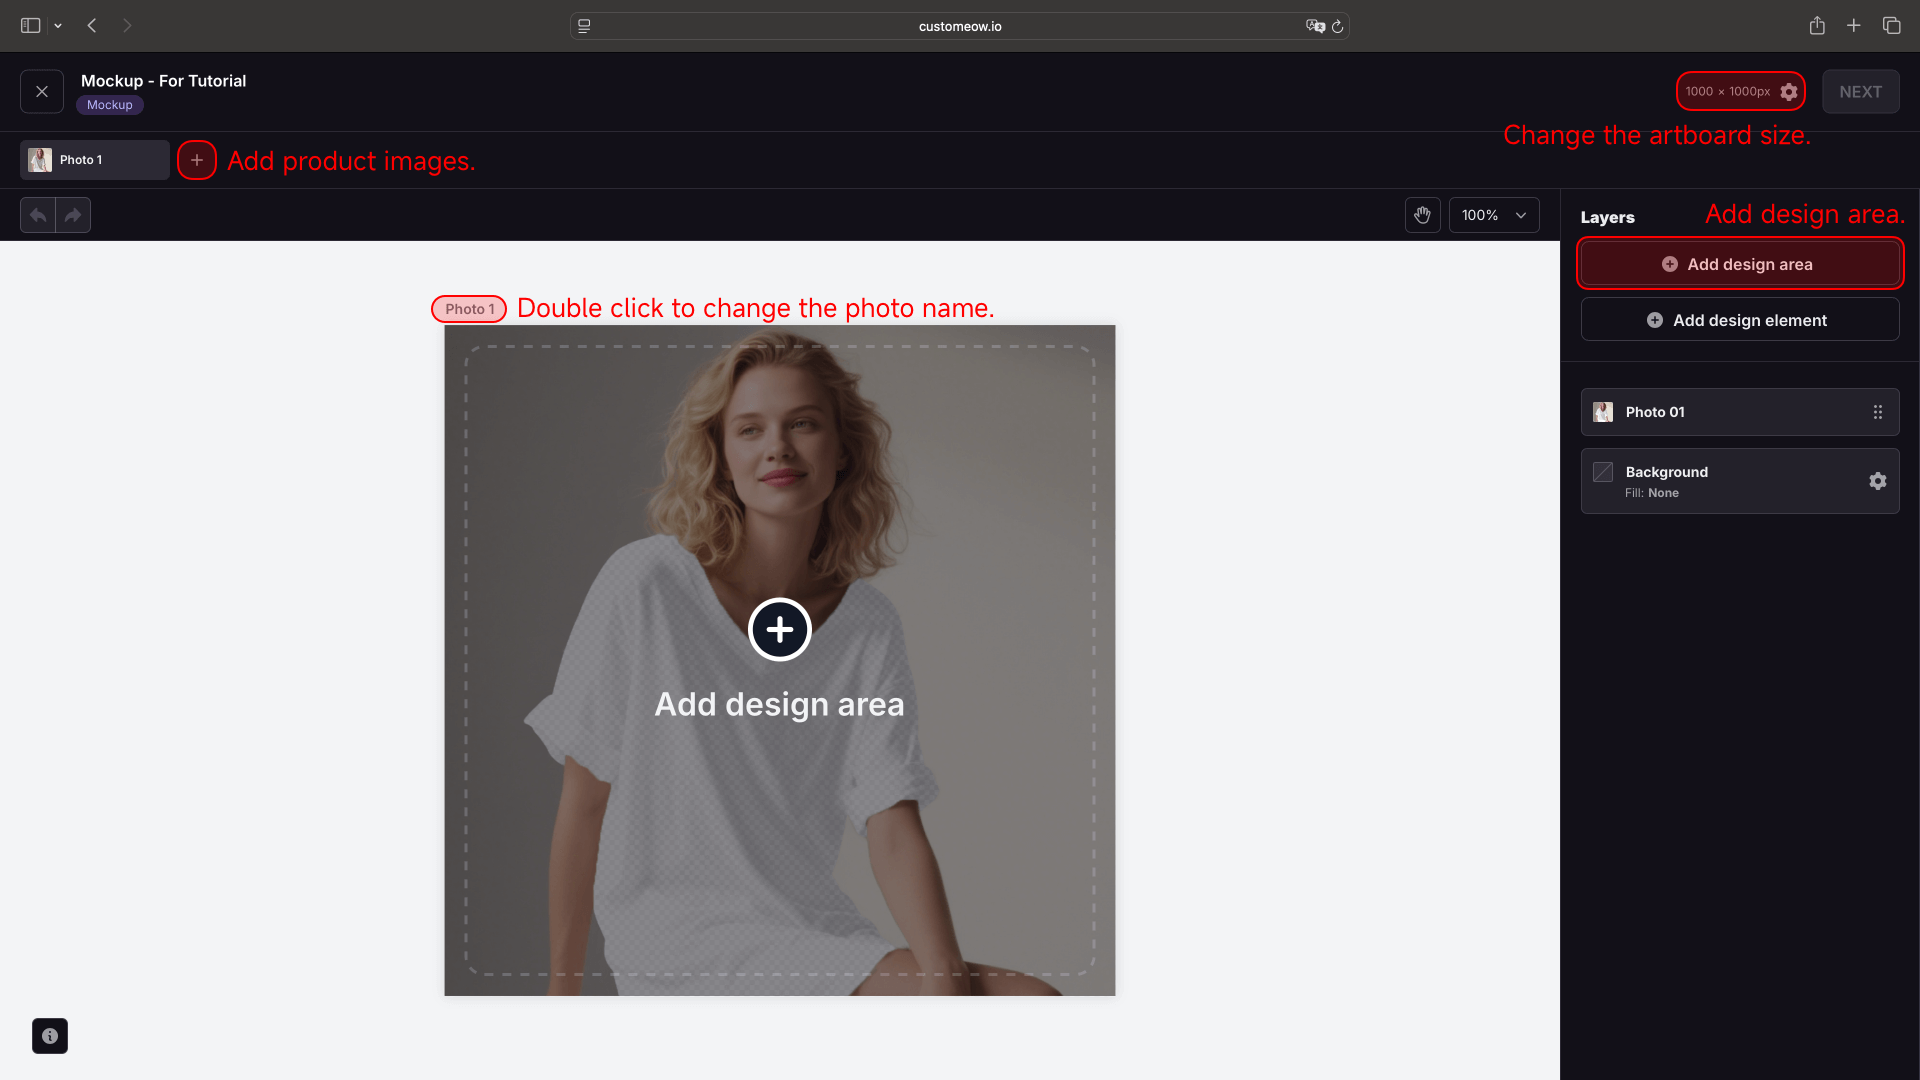
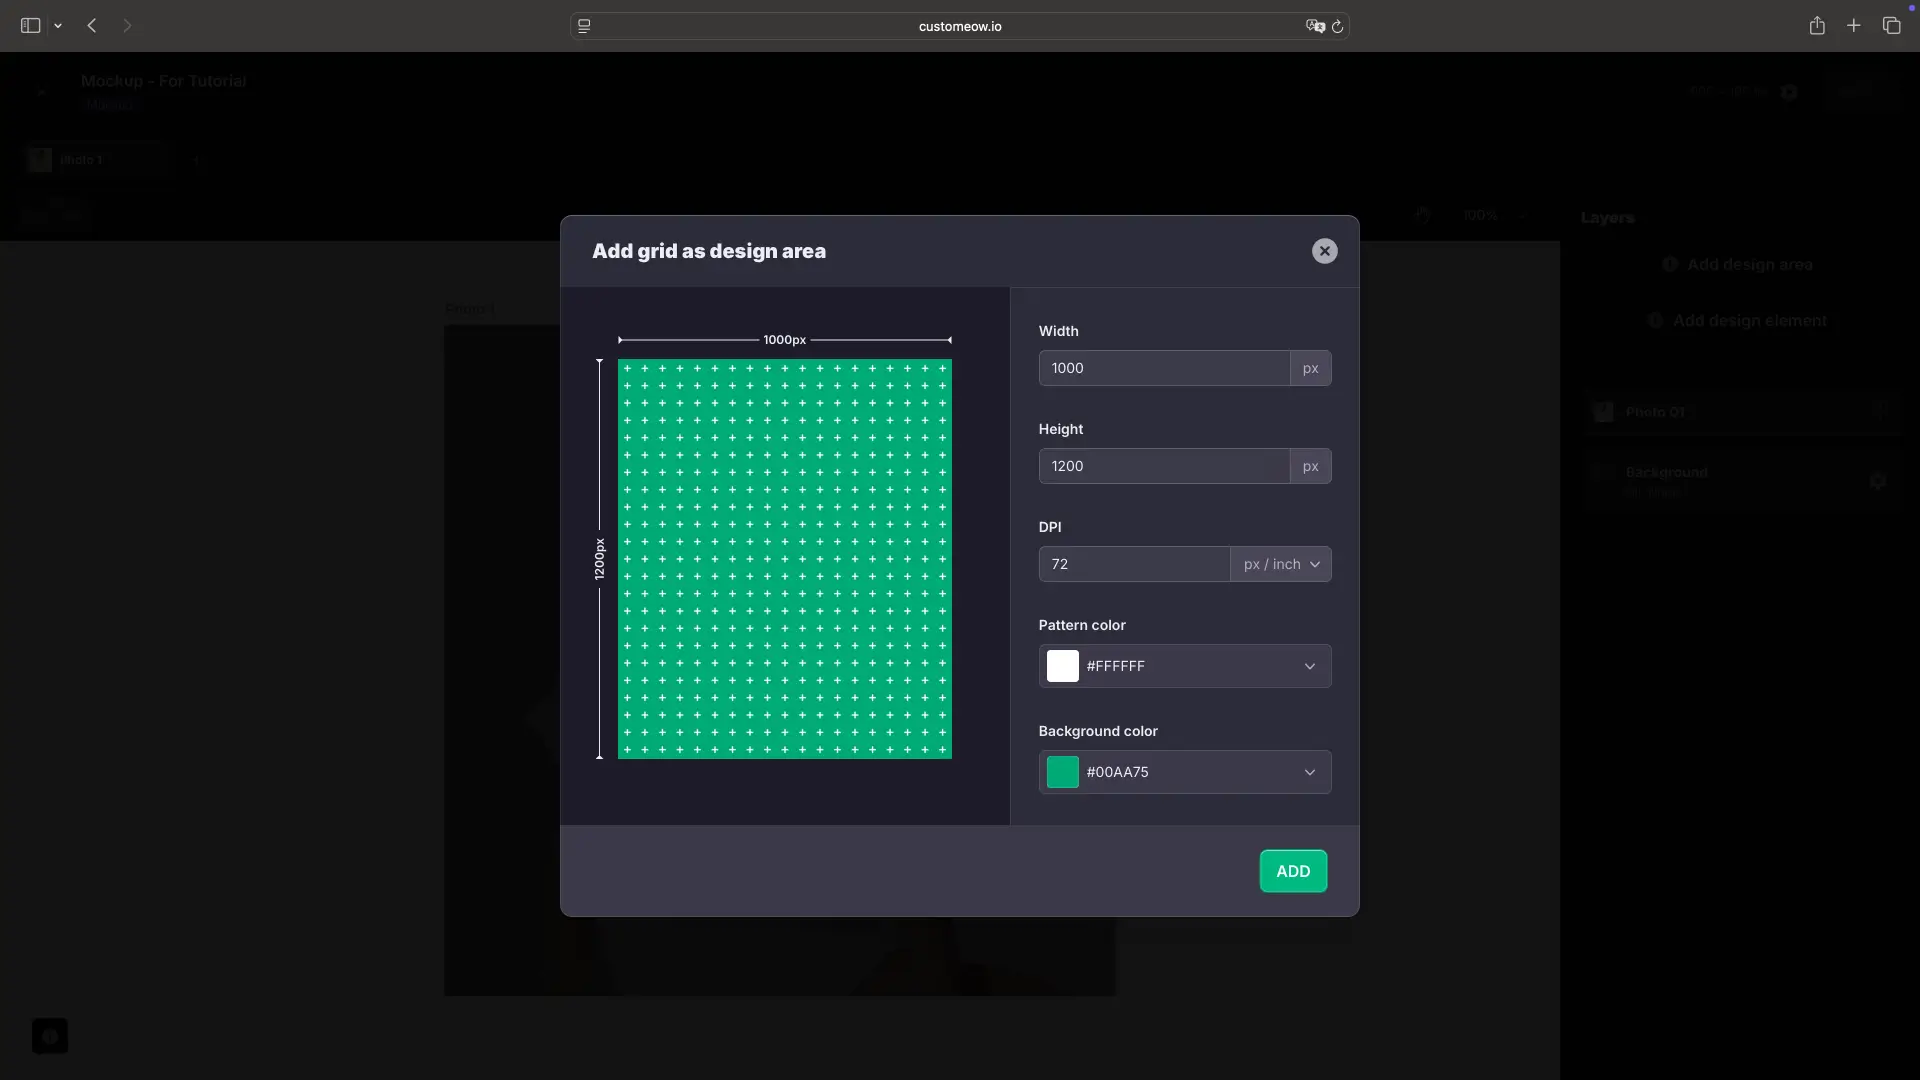
- Set the design area dimensions and click *ADD*.
- Width & Height: If using this for POD, ensure the dimensions match those of the production drawing.
- DPI: This setting currently only applies to the POD designer, so ensure you enter the correct DPI.
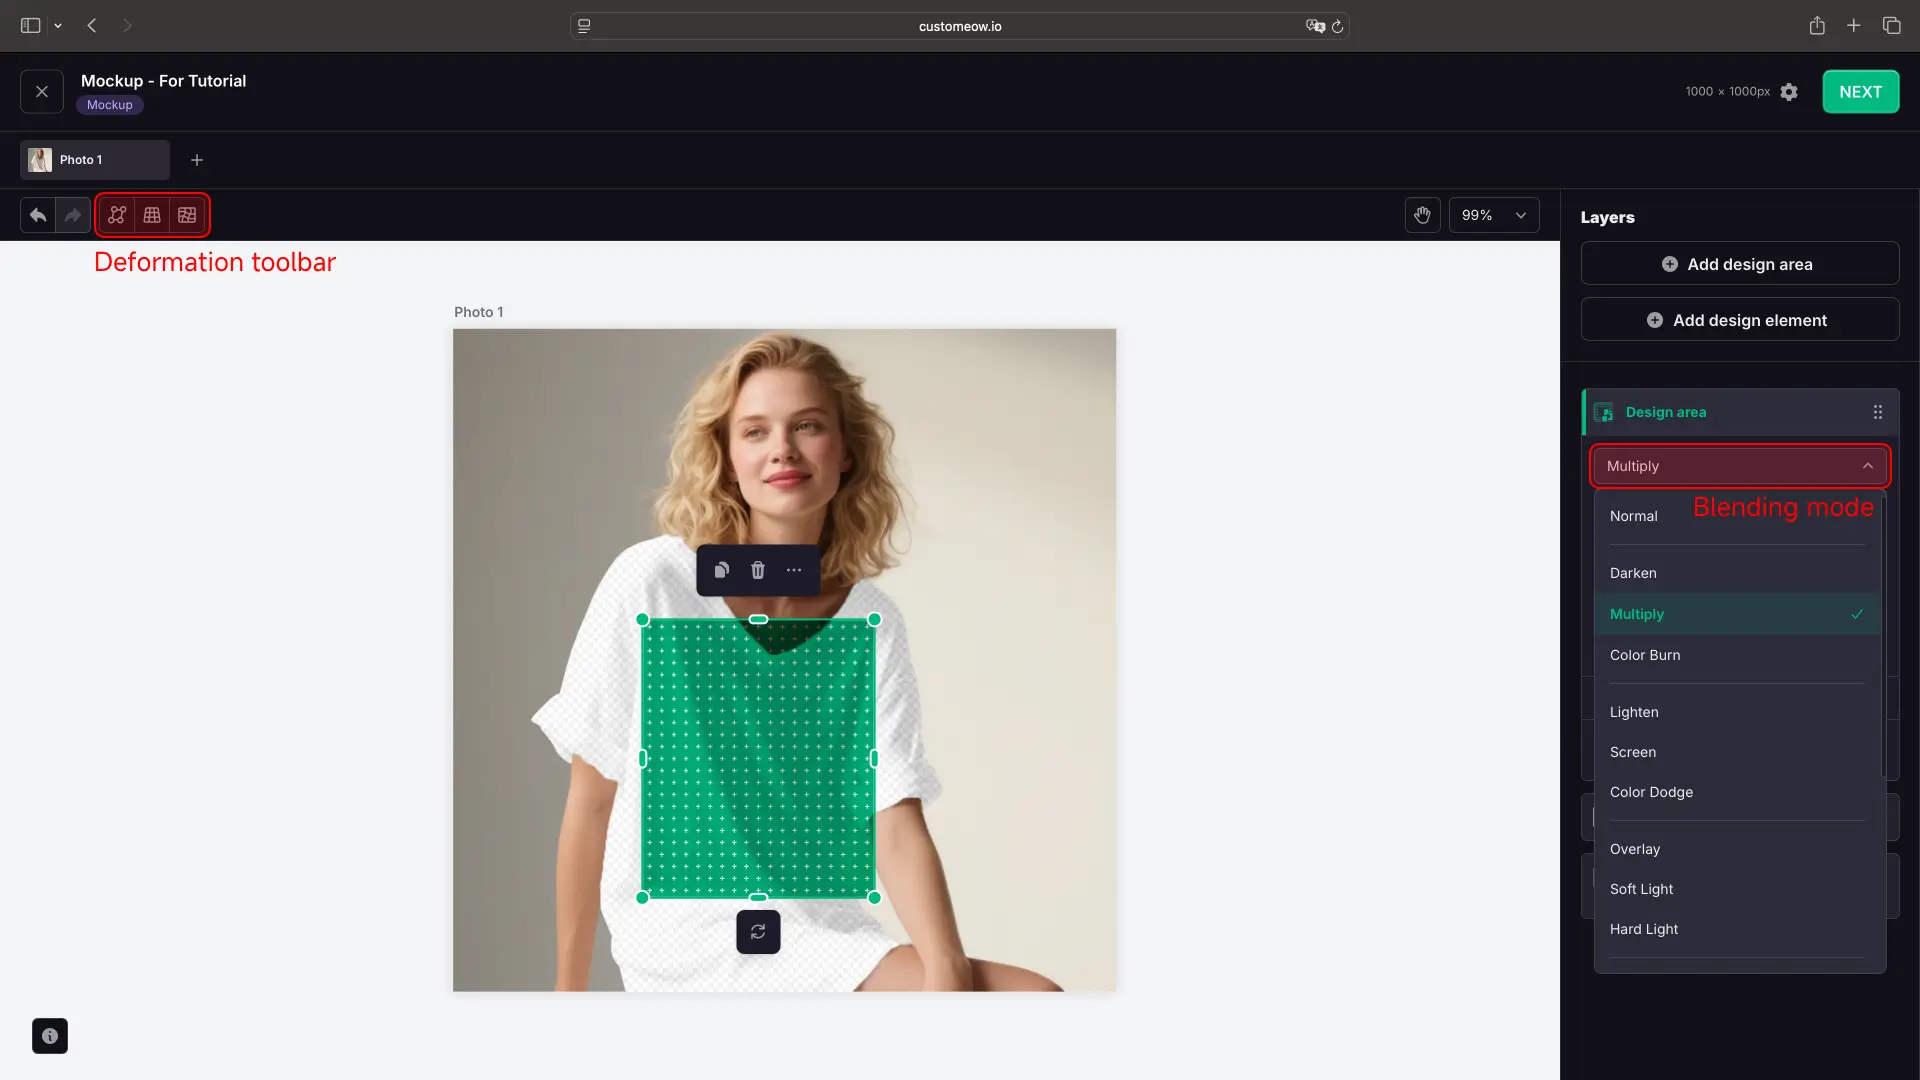
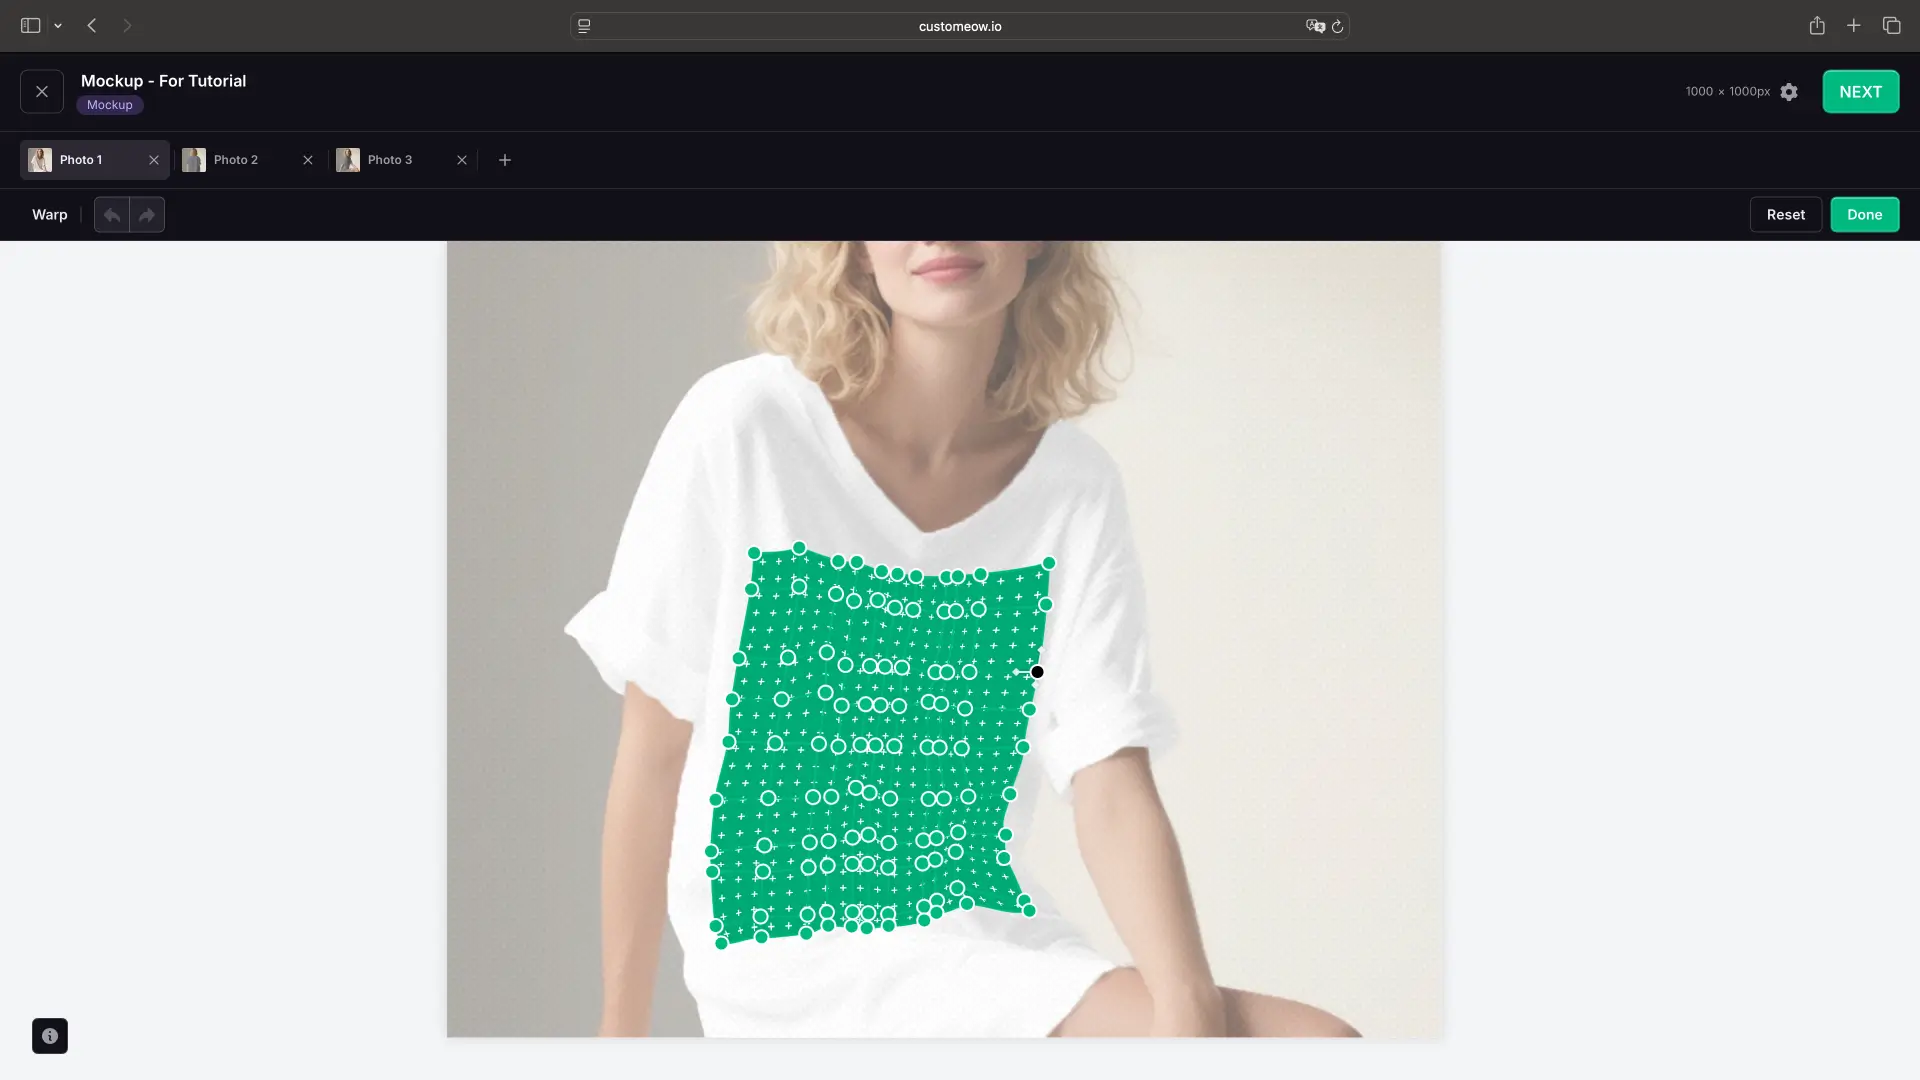
- You can distort the design area to a certain extent according to the shape and rhythm of the clothing, making the design area more natural.
- Double-click any position on the design area to add an anchor point wherever you want.
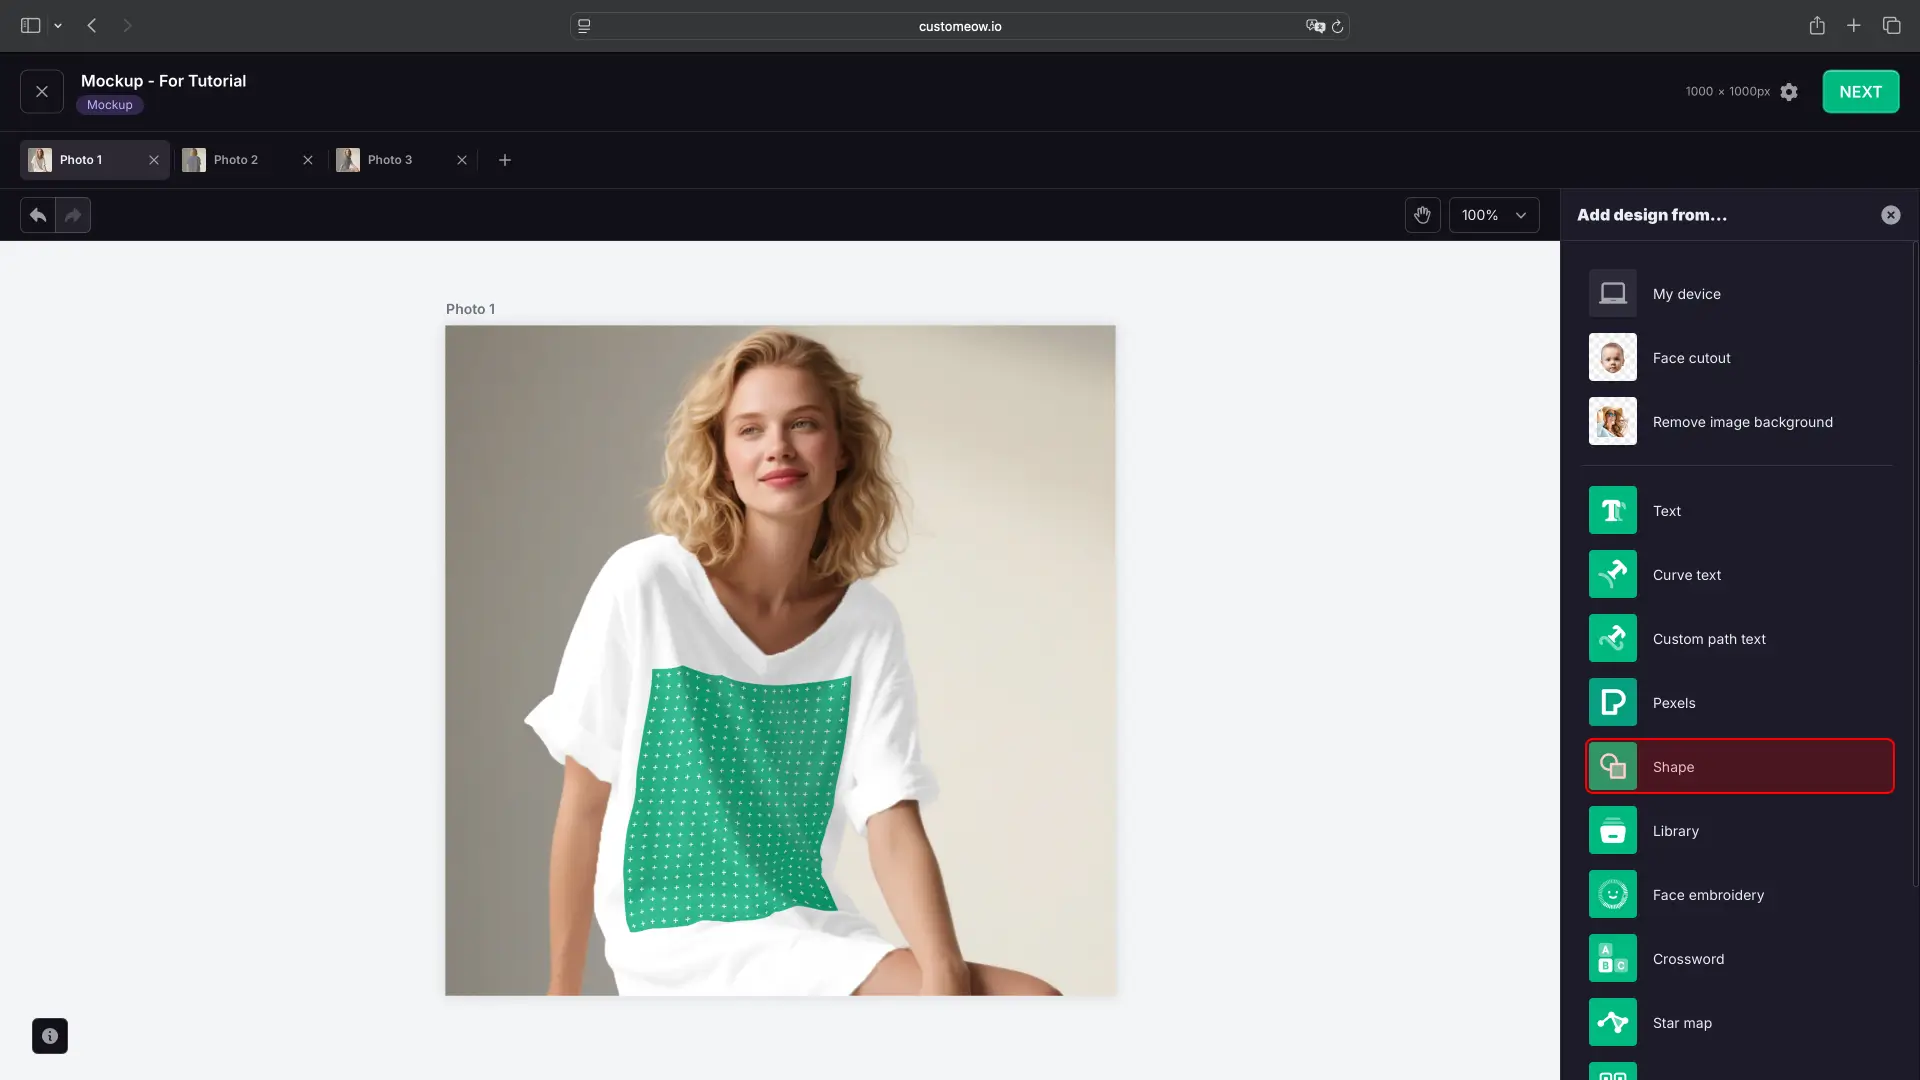
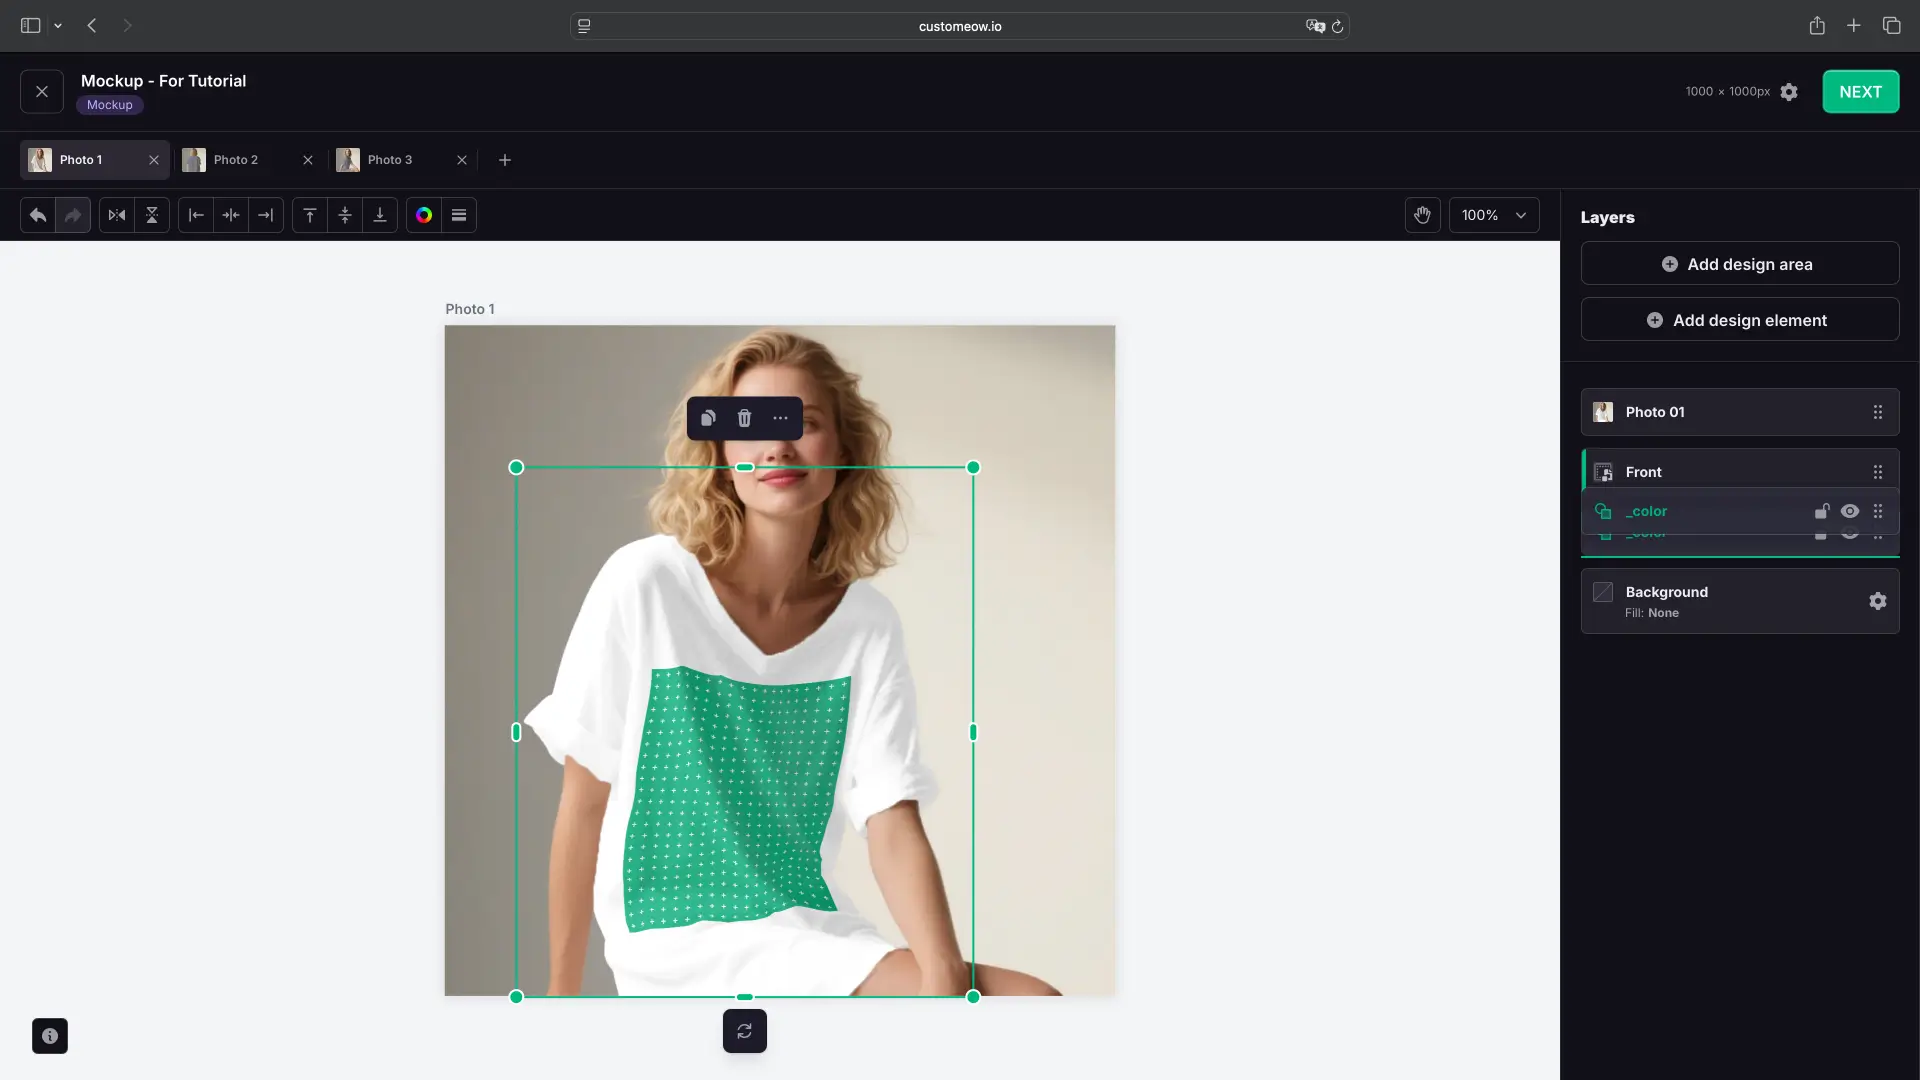
- Add a shape layer, such as a rectangle, and enlarge the shape to a size larger than the area of the clothing material.
- Name the shape layer "_color" (it must be an underscore followed by "color" in all lowercase letters) and place the layer below the image material (it is emphasized again that this material must be processed to have an effect similar to the material in the figure).
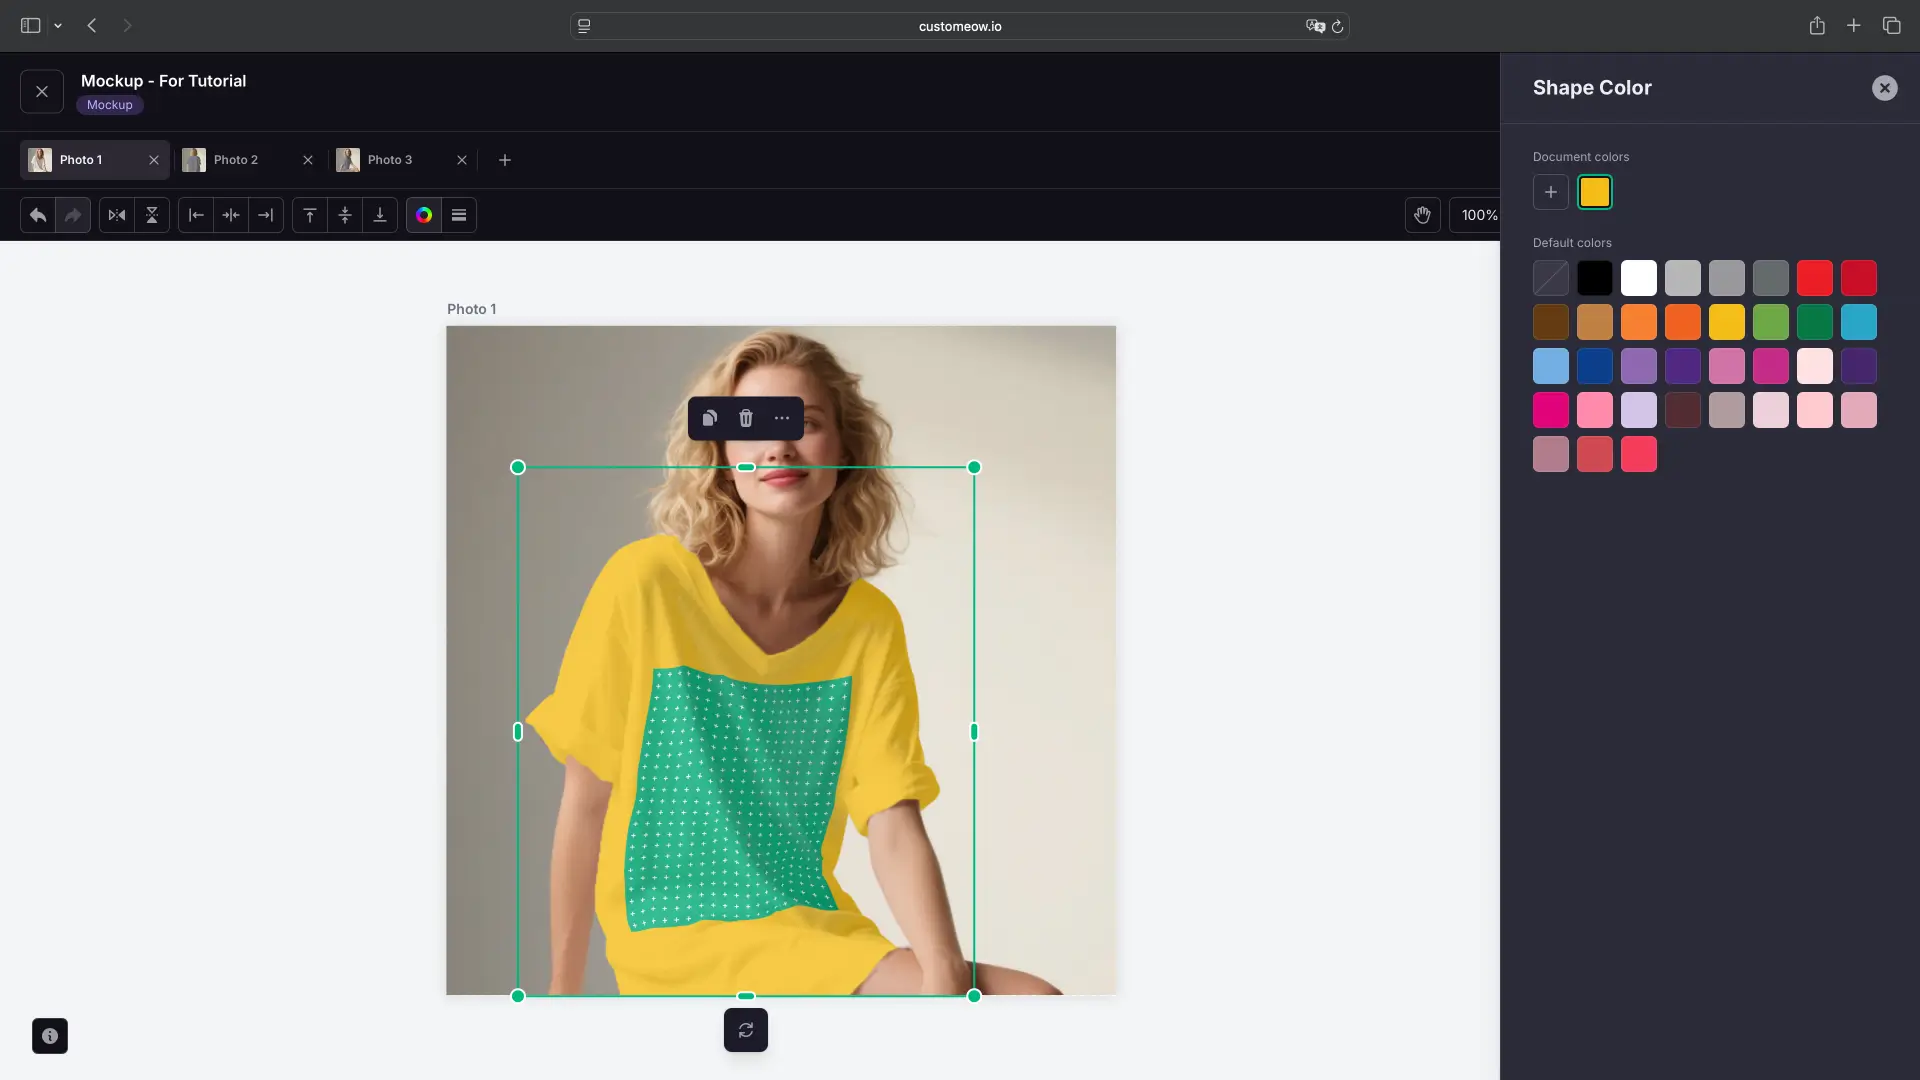
- If the material is properly processed, you will find that when you change the color of the Shape, the color of the clothing in the material will also change.
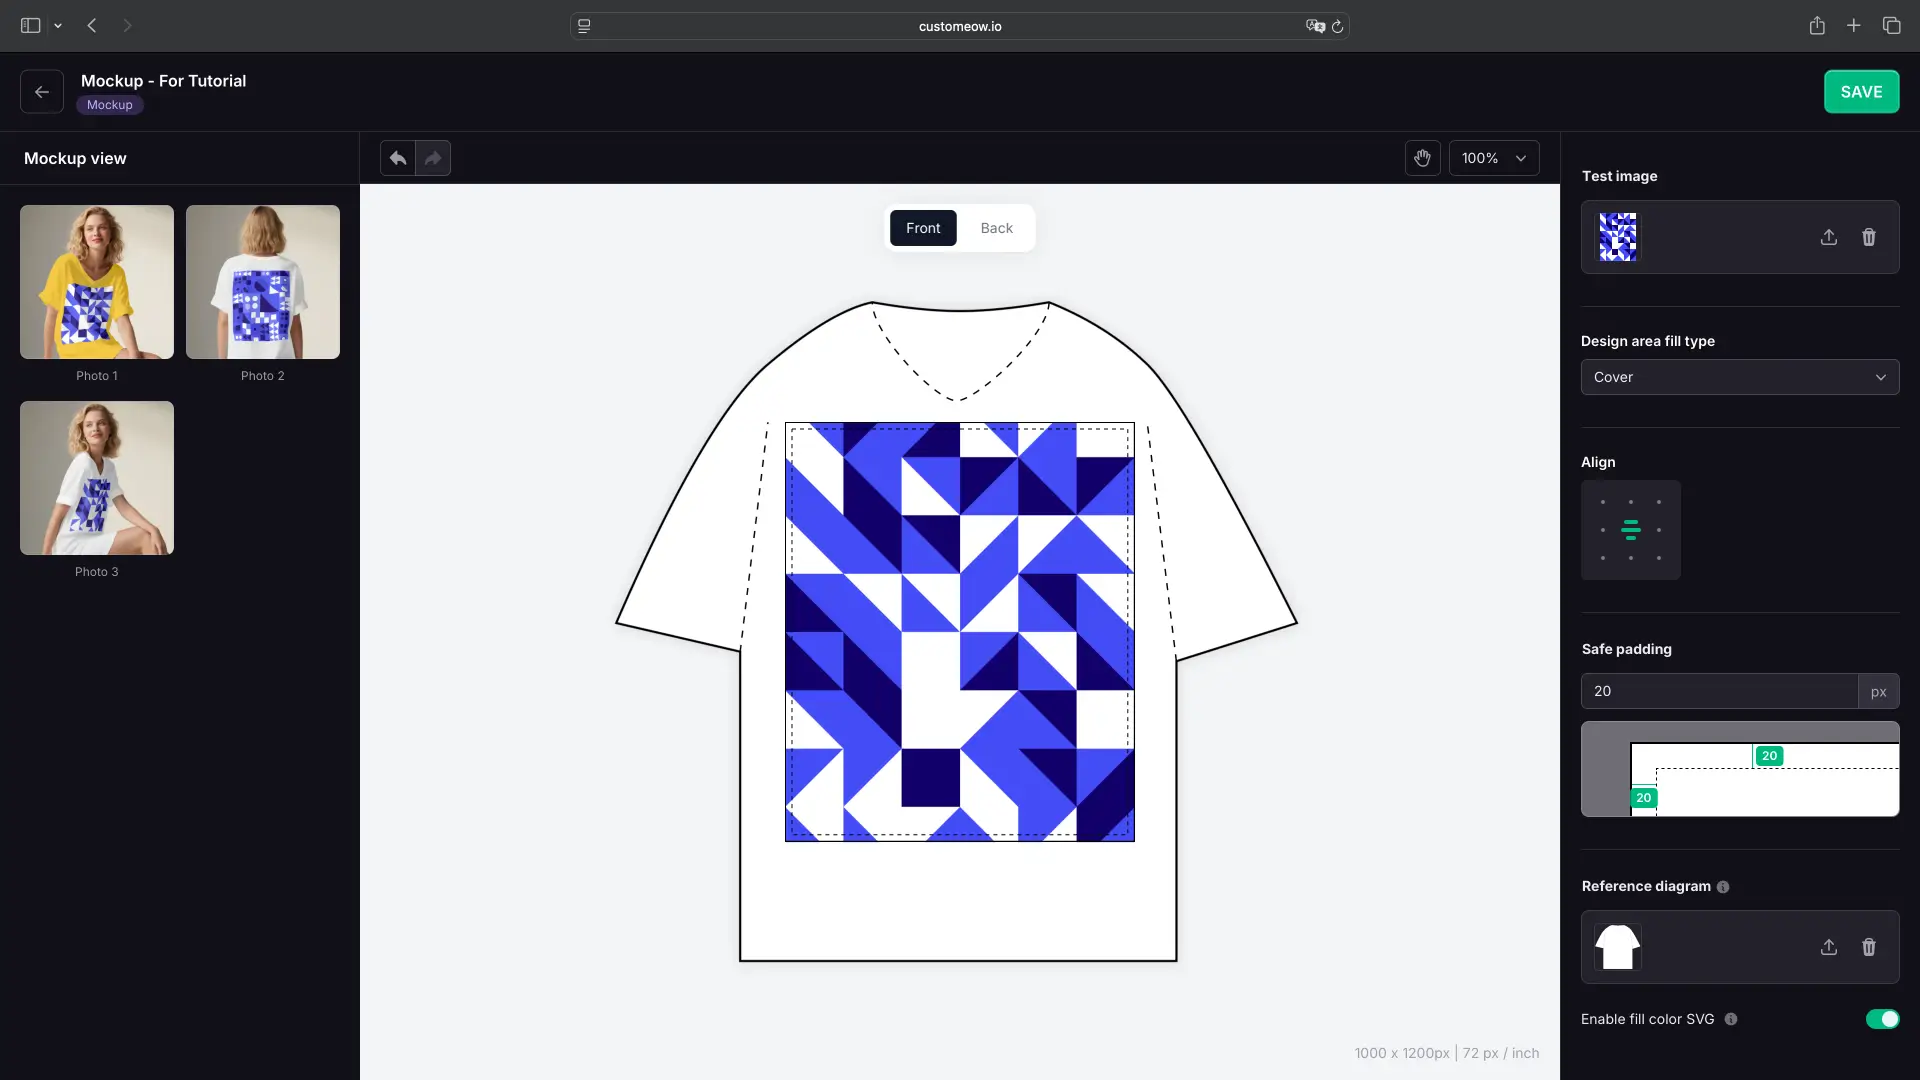
In the Reference diagram area, you can upload reference diagrams, supporting major formats such as JPG, PNG, and SVG. An example of the reference diagram effect is shown in the figure.
- If you want it to work when selecting different color attributes for POD, it is essential to upload a reference diagram in SVG format (vector) here (this is crucial for POD).
- Enable Enable fill color SVG.
- Generally speaking, the main structure of such SVG images includes two parts: Fill and Stroke. When the above function is enabled, the Fill attribute will automatically change according to the color attributes of the POD product.
- You can freely drag, enlarge, or shrink the reference diagram to an appropriate position.
Click the SAVE button in the upper right corner to save all the edited content.
Updated on: 22/08/2025
Thank you!